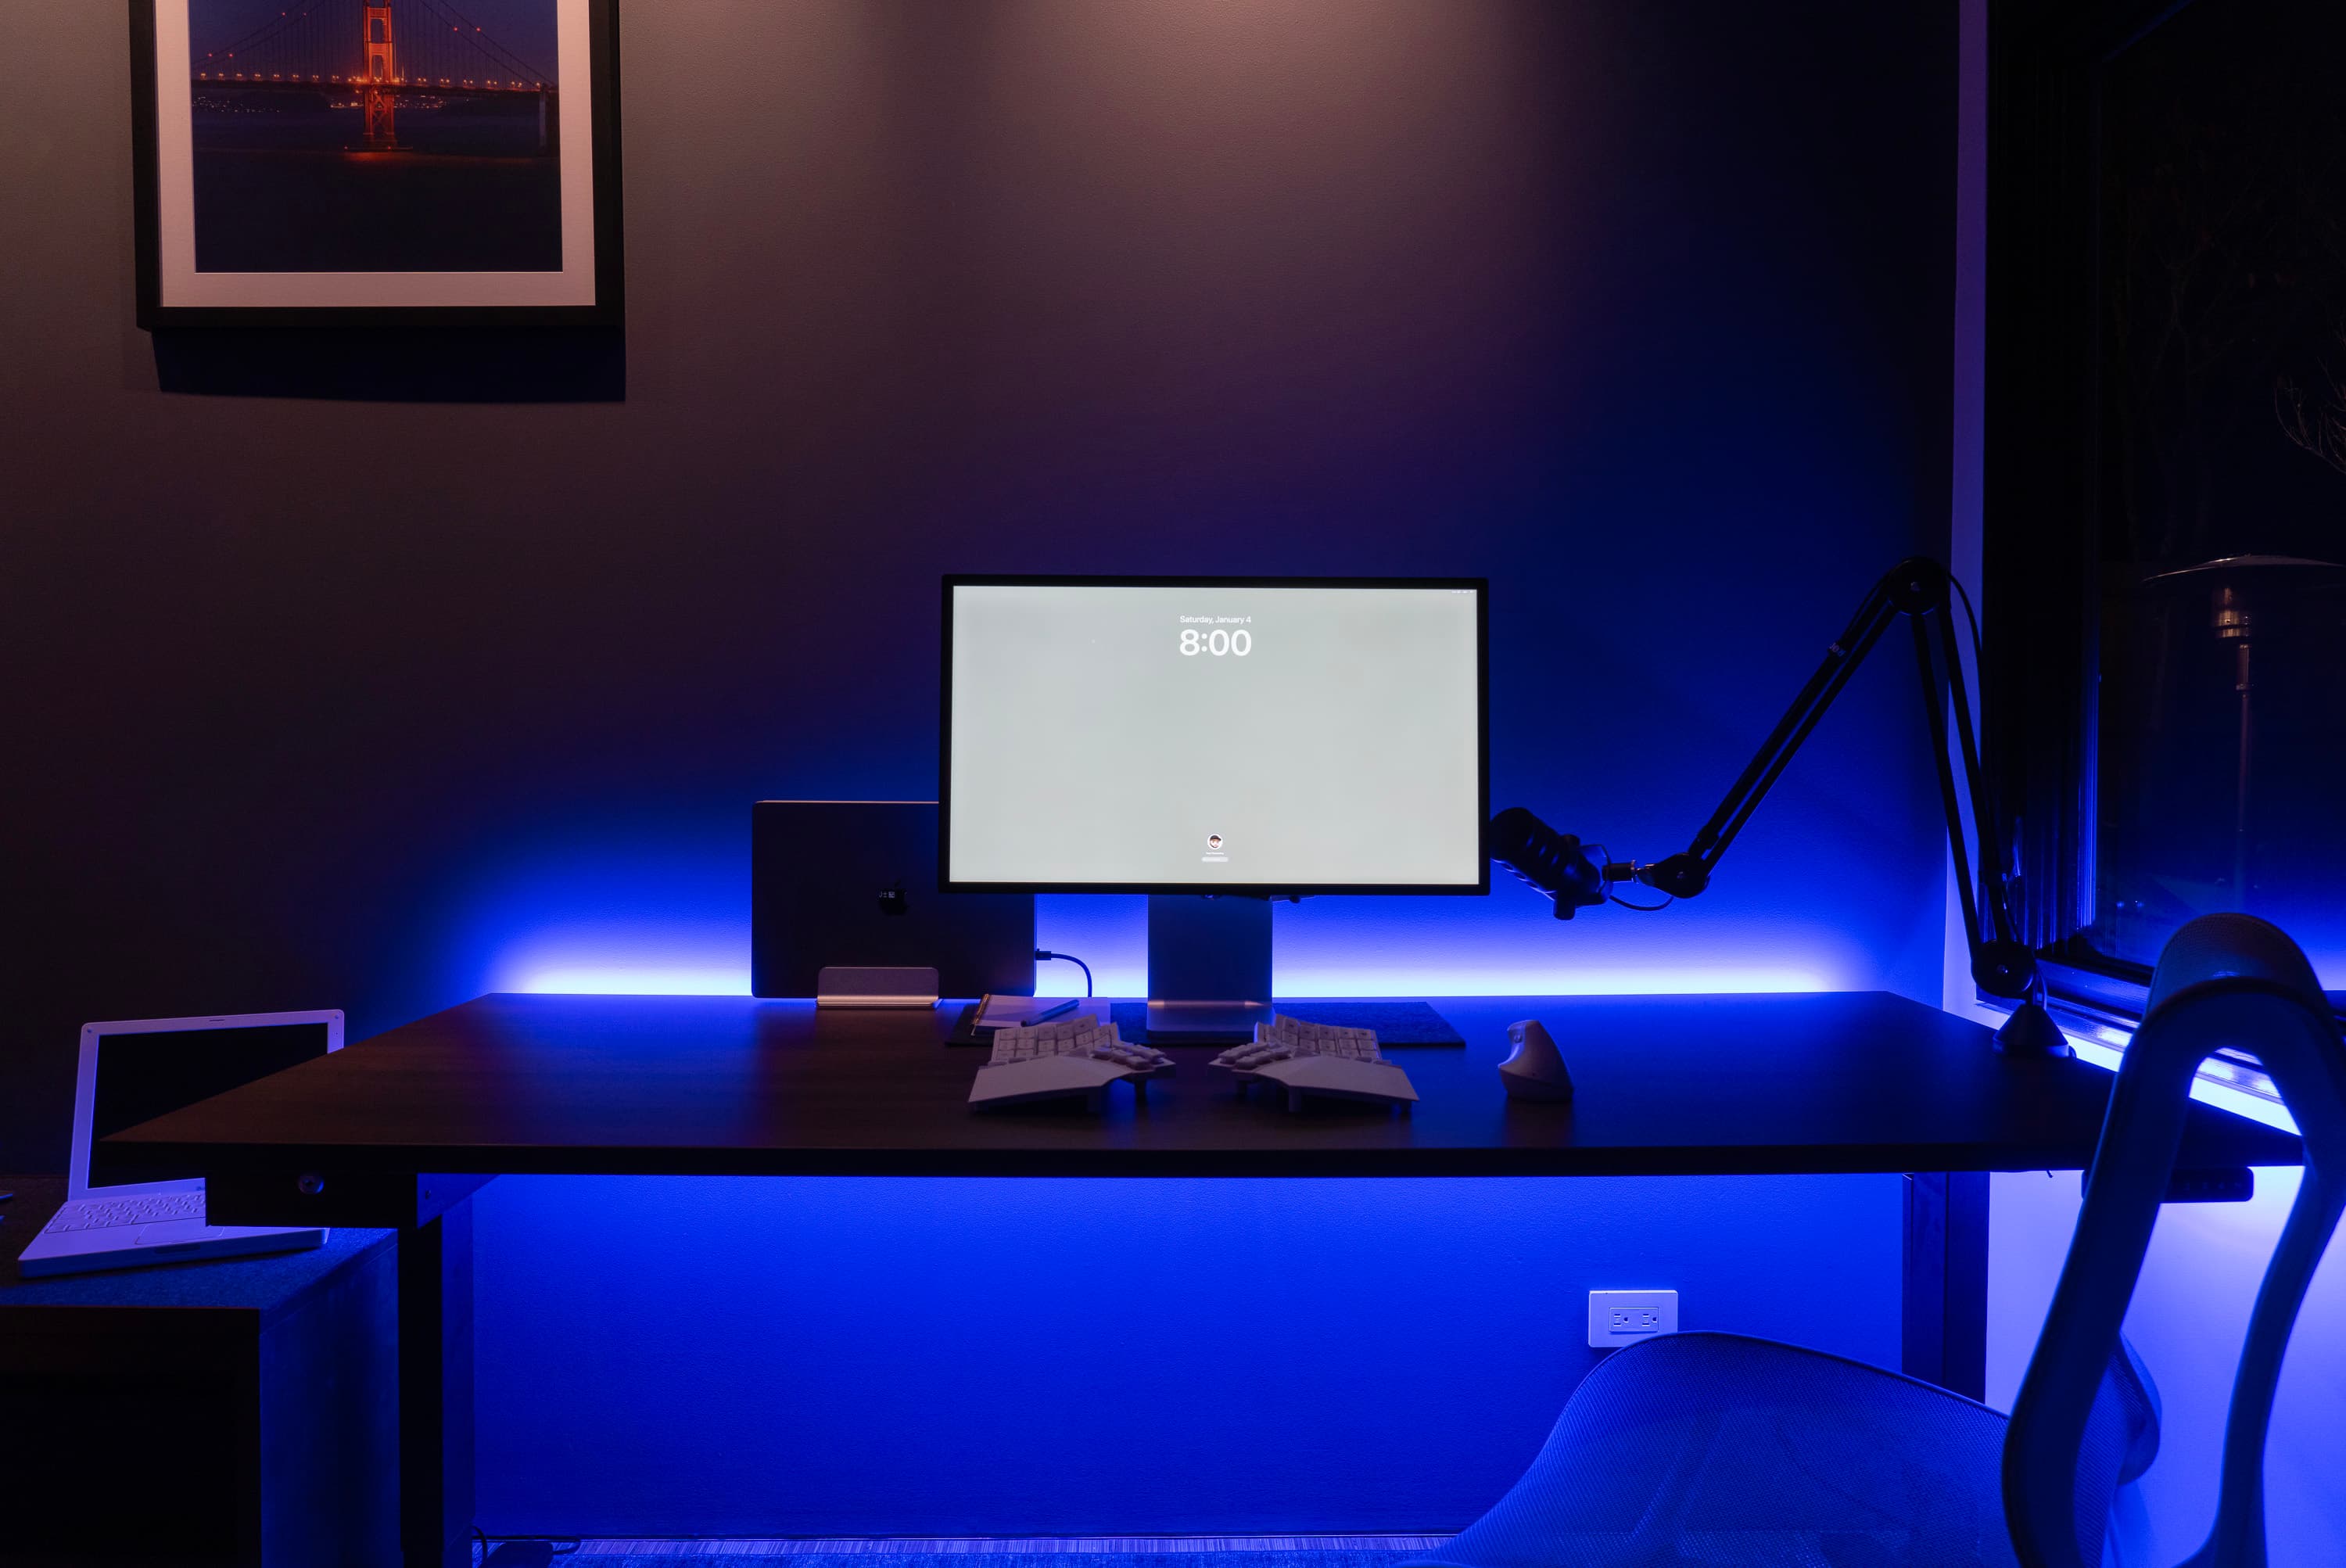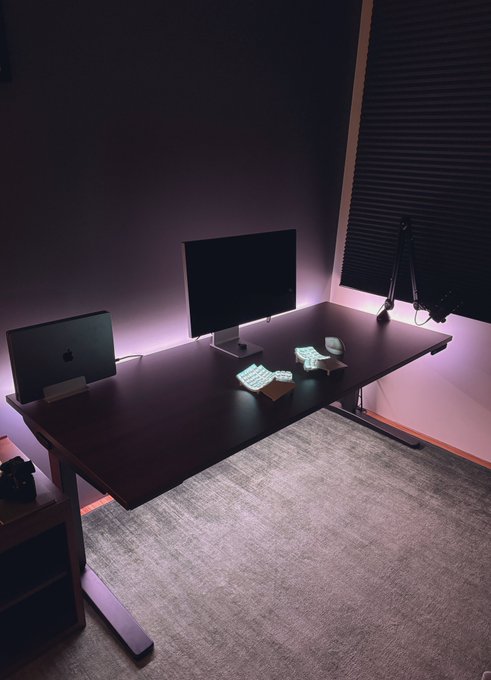

My desk with several LED strips and a MagWLED-1 controller
My desk was missing something. I wanted some backlighting behind and around the desk for when I'm working late into the night and don't want any other room lights on. I began looking for turnkey off-the-shelf solutions but didn't find any that met my needs.

I was looking for a few things:
- No hubs. I wanted something that could connect to Wi-Fi on its own and not require any additional hub.
- Exceedingly bright. I wanted the ability to crank the brightness if I needed and light up more of the room. For this, I needed a high-density LED strip. I also found this meant going with a 12V setup instead of 5V.
- Powered by USB-C. And finally, it had to be powered by a regular USB-C PD power adapter. I did not want some non-standard or barrel jack power adapter to deal with. Using USB-C also means I could use a tiny cable if I needed instead of having extra wires to manage.
- Advanced controls. This is basically table stakes but I wanted to be able to control the brightness, color, and a myriad of effects with an app.
I started searching for a good LED controller first. I found the MagWLED-1 controller and it was exactly what I was looking for.

MagWLED-1 LED controller
It's a $30 ESP32-based board that can be powered by USB-C PD, and is flexible enough to be used with a wide variety of LED strips, both 5V and 12V. It can be controlled via its own web interface and app. And it's tiny at just 1.89" x 1.26". A runner-up I considered was the QuinLED dig2go.
Parts list
After getting the controller sorted out, I looked for a long LED strip. It had to be bright. For that reason I knew I wanted to go with a 12V strip, and one with high-density of LEDs. LED strips mention how many LEDs per meter. For example, some Philips Hue LED strips are 54 LEDs per meter. The one I went with has 84 LEDs per meter. Here's a bit more about LED strip density and the pros and cons.

LED strips are commonly referred to by the type of IC used to control them. This uses a common IC called the WS2814. The IC lets you individually control the color and brightness of each LED using just one control wire.
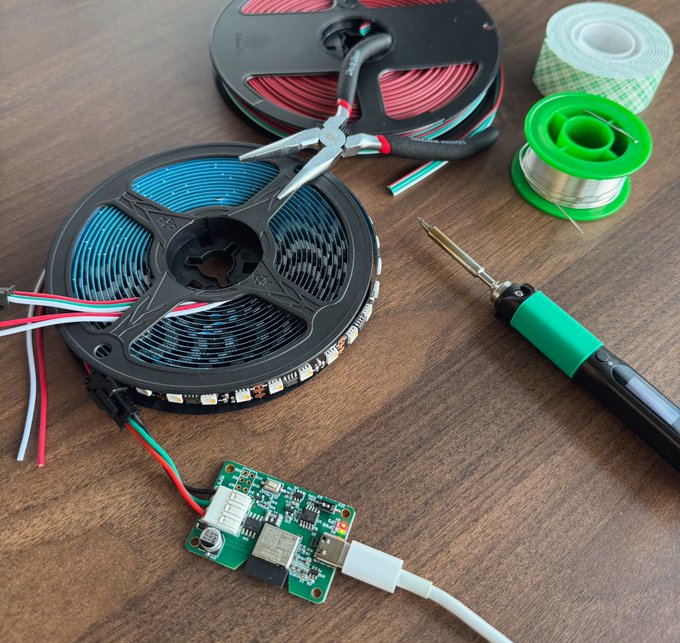
- LED Controller: MagWLED-1 USB-C controller
- LED Strip: BTF Lighting 16ft 12V BTF WS2814 IC RGB+Warm White
- Power Supply: Anker 45W USB-C Power Adapter It's very, very important that you get a USB-C power adapter with PD that can output 12V @ 3A. You'd be surprised how many quality power adapters do not supply 12V, including Apple or other Anker USB-C power adapters.
- Wire: BTF Lighting 3-pin 20AWD wire I wanted to mount the LED strip in three different places that weren't as easy as just adding a right-angle connector, so I needed to get some wire and solder it up myself.
- Miscellaneous: I got some double-sided foam tape to mount the controller under my desk.

Parts before assembly, including Pinecil soldering iron
Initial Setup
Putting this all together would be really easy if I just wanted to use it as a single LED strip. You flip a switch on the controller to specify that you are using 12V with USB-C PD, plug the controller to the LED strip, connect a power source, and you can access the controller's web interface to get it all going.
But I wanted to mount the LED strip in three different places: one strip behind the desk, one strip under the desk, and one strip on the side of the desk. To accomplish this I needed to measure the length I needed for each strip, cut the LED strips to size, and then solder them together with wire, leaving enough slack to mount them how I like. Since I wasn't mounting each strip directly next to each other, I couldn't use a regular solder-free connector clip.
First I did a dry run just connecting the LED strip and ensuring things worked. For this I followed the official MagWLED-1 controller setup guide. Notably, I had to do a few things:
- Configure the MagWLED-1 controller to use 12V for the LED strip as shown in that guide by flipping the tiny switch on the controller.
- Specify the LED strip type as
WS2814 RGBW - Set mA/LED to
30mA (typ. 12V) - Adjust the value of Length until all the LEDs I need light up (for me this was 113)
- Adjust Maximum PSU Current (depends on the number of LEDs you use, so start low and ramp up). I have mine at 2900mA. My Anker 45W USB-C power adapter can handle 3A and I wanted to keep it just shy of that.
- Set Color Order to
BRGand Swap toW & G(Required for this LED strip) - Set Data GPIO to
2 - I also updated the firmware, though that wasn't necessary.
- I also configured it to run on my Wi-Fi so I could control it remotely with the WLED Native iOS app.


Dry run with the LED strip and controller connected and working.
Assembly
Next, I had to cut the LED strips to the lengths I needed and solder them together. Most LED strips have a specific part of each strip that you are safe to cut with scissors. It's typically marked with some line dashes, and there's 3 solder pads across the strip.
I made a makeshift soldering station with my Pinecil and soldered the strips together with wire. In hindsight I ended up using too much wire and could have gone much several inches shorter, but it was fine and I just had to fold it up and tape it to the desk.

Once all soldered as I needed, I connected the controller again to make sure it worked and I didn't have any bad connections.

3 separate LED strips soldered together, ready to be mounted.
Mounting
And finally, I mounted the LED strips to the desk. I used double-sided foam tape to mount the controller under the desk, and then for the LED strips themselves, I just used the adhesive backing that it came with. I've been running this setup for over a month now and haven't had any issues with the tape coming loose.
I started by mounting the controller under the desk. Fortunately my desk already has a power outlet mounted under it so I didn't need to do anything special to hide the power cable. I used a 6-inch USB-C cable.

Then I carefully lined up and began mounting each strip. First underneath the desk, then on the back of the desk, and finally on the side of the desk. This was trickier than it sounds. The strips are so long running the length of my desk that any misalignment would cause them to dramatically veer off course. Between the adhesive backing and the PCB of the LED strip not wanting to bend horizontally, you really have to be precise.

After it was all mounted, I fired up the app to test it out again and make sure everything was still working before moving my desk back into place.

And that's basically it!
Demo
I didn't touch on how much you can do with the MagWLED-1 controller. Here's a brief glimpse into some of the effects you do; though I mostly just use it with a single color when working.


