It has been about two weeks since I first started writing about building your own, affordable PC that could easily be used as a file server or basic Linux/Windows computer. My first article in this series, DIY: 200 Dollar PC, went through the parts you would need while my second article, DIY: 200 Dollar PC, Part 2, cataloged some of the issues I ran into after the parts arrived. I also detailed how I was planning on building a case for this computer, which I will use as a NAS/file server on my local network. Last weekend I built a case with 1/4-inch thick plexiglass and some miscellaneous nuts & bolts and finalized some other aspects of the computer.
Note: I'm making use of Cabel Sasser's FancyZoom smooth image zooming script in this post and likely more to follow so you can click on images and view a larger, more detailed version. If you're reading this in an RSS aggregator click over to check it out.
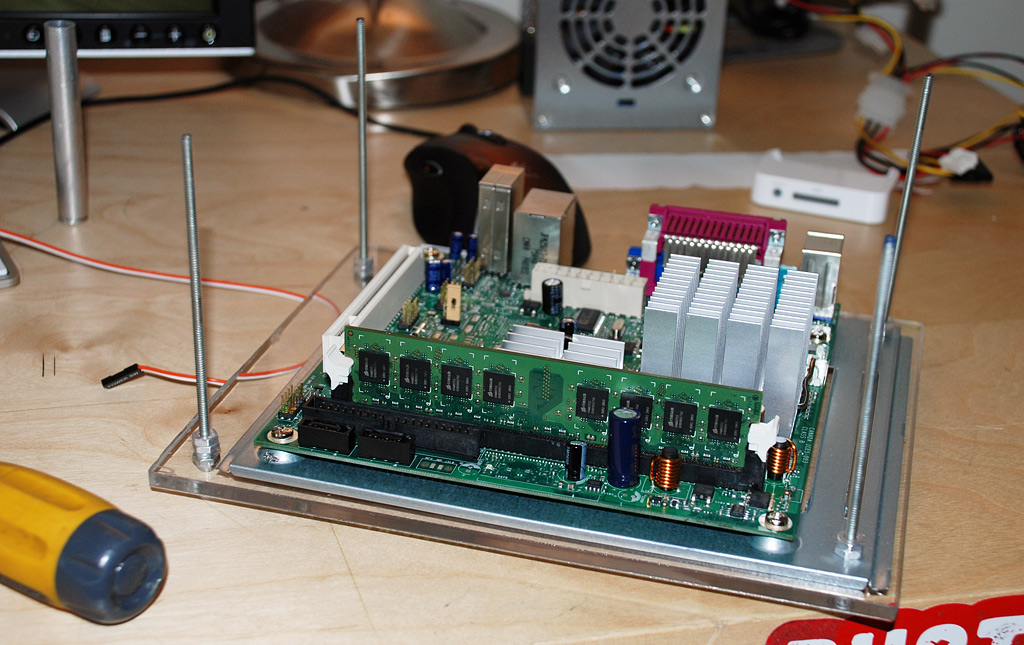
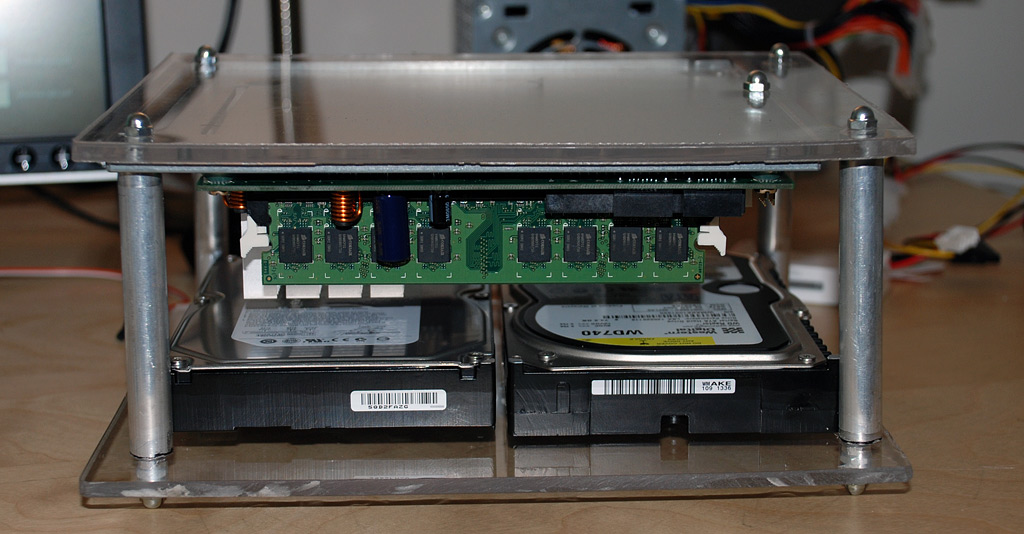
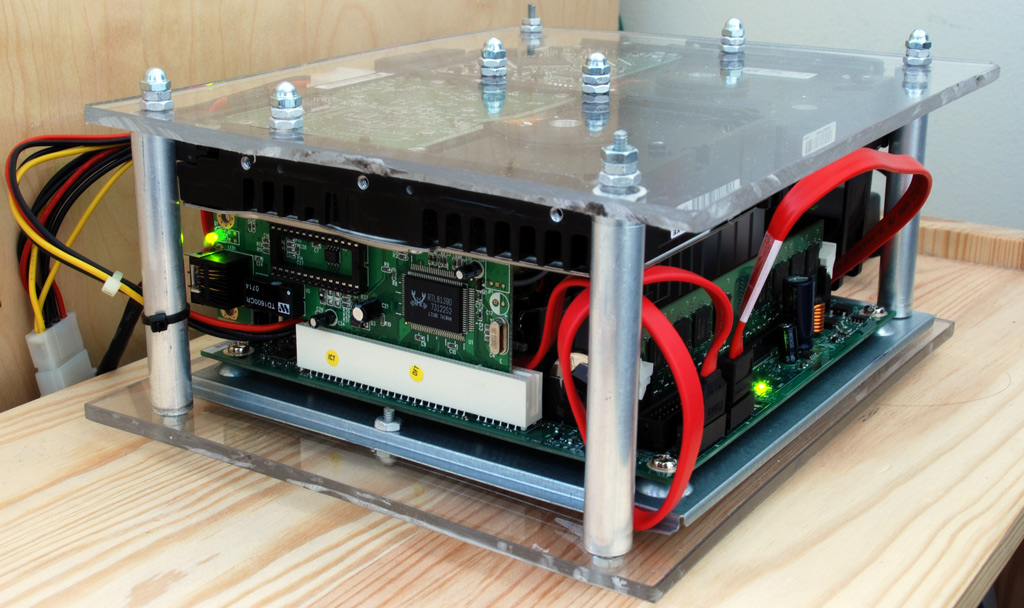
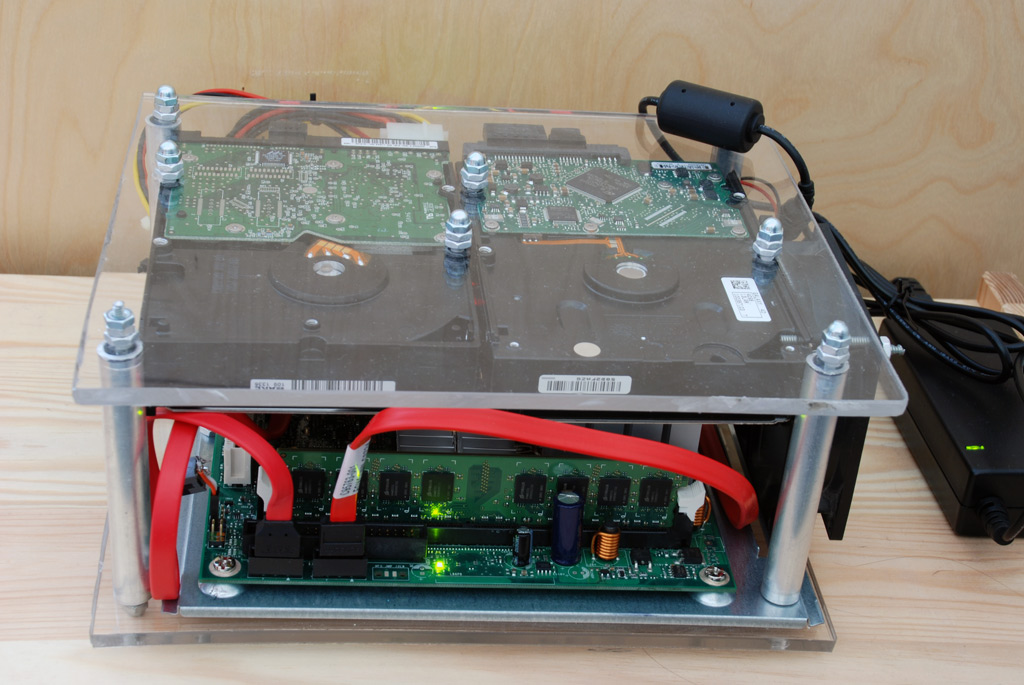
Case Construction
I decided to build a relatively simple case based around 2 layers with the internals entirely between the layers. This design should aid cooling by creating a wind tunnel effect. I positioned a single 80mm fan at one end of the case to blow through and it maintains a decent temperature all while remaining near silent. It is the only fan in the entire computer.
If I had more time and resources I would have outsourced the plexiglass cutting to a laser cutter instead of cutting it with a Dremel. The edges were not smooth at all so I had to sand it down a bit and I'm still not entirely pleased with the outcome.
Power Supply Shortcomings
The power supply I'm using is the 120 Watt PicoPSU. The only circuitry is a little block on top of the ATX connector that receives 12 VDC from a small power brick (like a laptop). There are two problems with this power supply. First off, it makes a very tight fit with the ethernet jack. So much so that I ended up cutting out a part of the metal box around the ethernet jack and re-insulating it with a piece of rubber electrical tape. Hopefully, having the PicoPSU's VRM so close to the ethernet jack won't bring up any EMI issues. Fortunately for this, as you'll read later on, I don't end up using the onboard ethernet.
The second problem with the PicoPSU is that it does not come with a P4 power connector. A P4 connector is a small square block connector that provides a solid 12V rail to the processor. Without this, the motherboard will not POST. I had to solder one up from spare parts, although cheap molex to P4 adapters do exist. However, if you opt to go the route of the adapter, you will lose one molex connector and be stuck with a single SATA power jack and a floppy power connector.
 Always have a window open and fan on when soldering and using a blow-torch.
Since I have 2 hard drives in this computer and wanted a spare molex connector around for whatever reason, I soldered on a few extra molex connectors. While I was at it I also unsoldered the parallel IEEE 1284 and serial ports as I can't remember the last time I've used them, and it can only help the air flow in the case.
While I'm on the subject of soldering, if you do any soldering on a motherboard you will want to get a more powerful soldering iron. Solder used on motherboards has a considerably higher melting point and was hard to work with using a 25 Watt iron. I found myself heating the tip of the soldering iron with a blow torch many times.
Paltry Linux Support
In the last part of this series I mentioned my troubles with setting up the video driver in Linux. At this point I am still not capable of producing the full 1920x1200 resolution my monitor supports. Regardless, I moved on and set up Samba to share my second hard drive.
Samba was easy to setup with Ubuntu's Shared Folders under the Administration menu. I just had to tell it what path to share and give users permission. Using the package manager I installed a Samba shares manager and gave the guest account Samba privileges and created separate passwords for my roommates. You don't need to install that GUI application to manage Samba users - it can be done with the command line relatively easy.
sudo smbpasswd -a username
That adds a user (substitute "username" for the actual username) and lets you create a Samba password. To the best of my knowledge you can only add Samba users that are already users on the system. That is, if you want an entirely new user you will have to add the user in the OS first, then add it to Samba.
After that's all taken care of you can connect to Samba in Windows by browsing through the network or in OS X by selecting Go » Connect to Server... in Finder. Then provide OS X the appropriate IP of the local box in the following format:
smb://192.168.1.111/
The IP above is just an example for a typical IP found on a local network administrated by a Linksys router. You'll then be asked to provide proper login credentials, then you will need to choose the Samba share you wish to load. There will most likely only be one share available at this point if you only shared one during setup.
The SMB share will appear in Finder and you will be able to access it like a network drive. If you can't edit files on the new share, you will want to go to the Samba share manager application in Ubuntu and uncheck the read-only box. This is the info for my mounted Samba share:

If you're the type that prefers FTP to everything, take a look at this proftpd tutorial.
You were saying something about bad Linux support?
After I got Samba up and running, I naturally began testing file transfer speed from a wired computer to the wired server. Something was horribly wrong. The fastest I could get was much less than a MB per second. For comparison, I usually get around 7MB/sec when transferring files between local machines.
After a very long time of searching, it turns out the SiS900 Fast Ethernet chip used on the Intel D201GLY2 motherboard is not well configured and supported in current Linux kernels. Fixing it would have required mucking around with patches and recompiling the kernel - not something I wanted to do at the time. Instead I ordered a 10 low profile StarTech 100Mbit NIC. I opted for low profile as my case does not have much clearance. If I had set it up to have more space, I might have opted for a more powerful gigabit NIC with a dedicated IC for dealing with network traffic instead of offloading portions of it to the CPU, as cheaper NICs tend to do. However, my network infrastructure isn't gigabit friendly at the moment so settling for the 100Mbit NIC was fine by me.
With the new NIC, FTP and Samba transfers are at a consistent ~7MB/sec. That is enough to, hypothetically, stream a 50GB 1080p High-Def movie from the file server to any computer on the network.
More Pics and What's Next
Now that I have Linux setup the way I want for the most part, I can do everything I need over SSH including managing downloads. One of the constraints of this motherboard is that there are only 2 SATA connectors. I think this might become an issue for me in a while after I fill up the drives currently in there. Regardless of the various hardships I encountered with setting up this computer I am very pleased with the outcome.
As for my aspirations of using the server for an OS X Time Machine backup NAS, I'll be holding off for now. There is an issue with unsupported network volumes when they become full where OS X won't know the boundaries of the disk and when it needs to remove older incremental backup data, it will actually corrupt the disk. Thanks to Leon Freyermuth for pointing me to this issue.
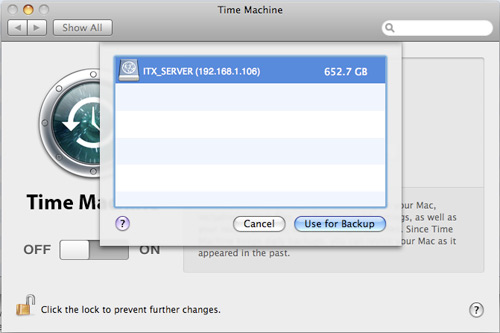 After flipping a bit in com.apple.systempreferences, Leopard recognizes unsupported network volumes. I wouldn't recommend using it just yet though.


Down the line, I would love to experiment with other, more powerful mini-ITX boards. AOpen has one (i945GTt-VFA) that supports Core 2 Duo processors, has Gigabit LAN, 7.1 channel audio, Intel onboard graphics and some other things. However, is quite expensive compared to the 65 Intel D201GLY2 motherboard I am currently using.
How do you think it turned out? How is your PC coming along if you're following these DIY posts?