I started taking photography more seriously about a decade ago. I shot photos in RAW with increasingly higher megapixel cameras, spent a lot of time post-processing photos—see my 30K word post about building a custom Adobe Lightroom PC—and designed and built custom photo stories to share them.
While I would go through the process of culling photos that I published online, I didn’t do that for what I backed up. I kept everything. I always thought, "what if I want to go back to this and edit it differently one day?"
I kept every RAW photo I shot, every video, every GoPro clip... I even kept every phone photo going back to my first iPhone. And why not, storage is cheap and easy, right?
The terabytes kept adding up. I added close to a terabyte with New Zealand. Hundreds of gigs with Africa. When you hit a few terabytes the obvious solution is to move to a NAS, or Network Attached Storage. I wrote about this extensively in 2015 with Storage for Photographers (Part 2).
Years back these were pretty dumb devices that would just appear as a networked drive for your computer to manage. Today, they’re full-blown personal servers, capable of running self-hosted apps and services. That makes it easy to have them encrypt your data, and automatically back your files up to cloud services, which is probably what you want if you’re paranoid about backups and try to follow the 3-2-1 rule.
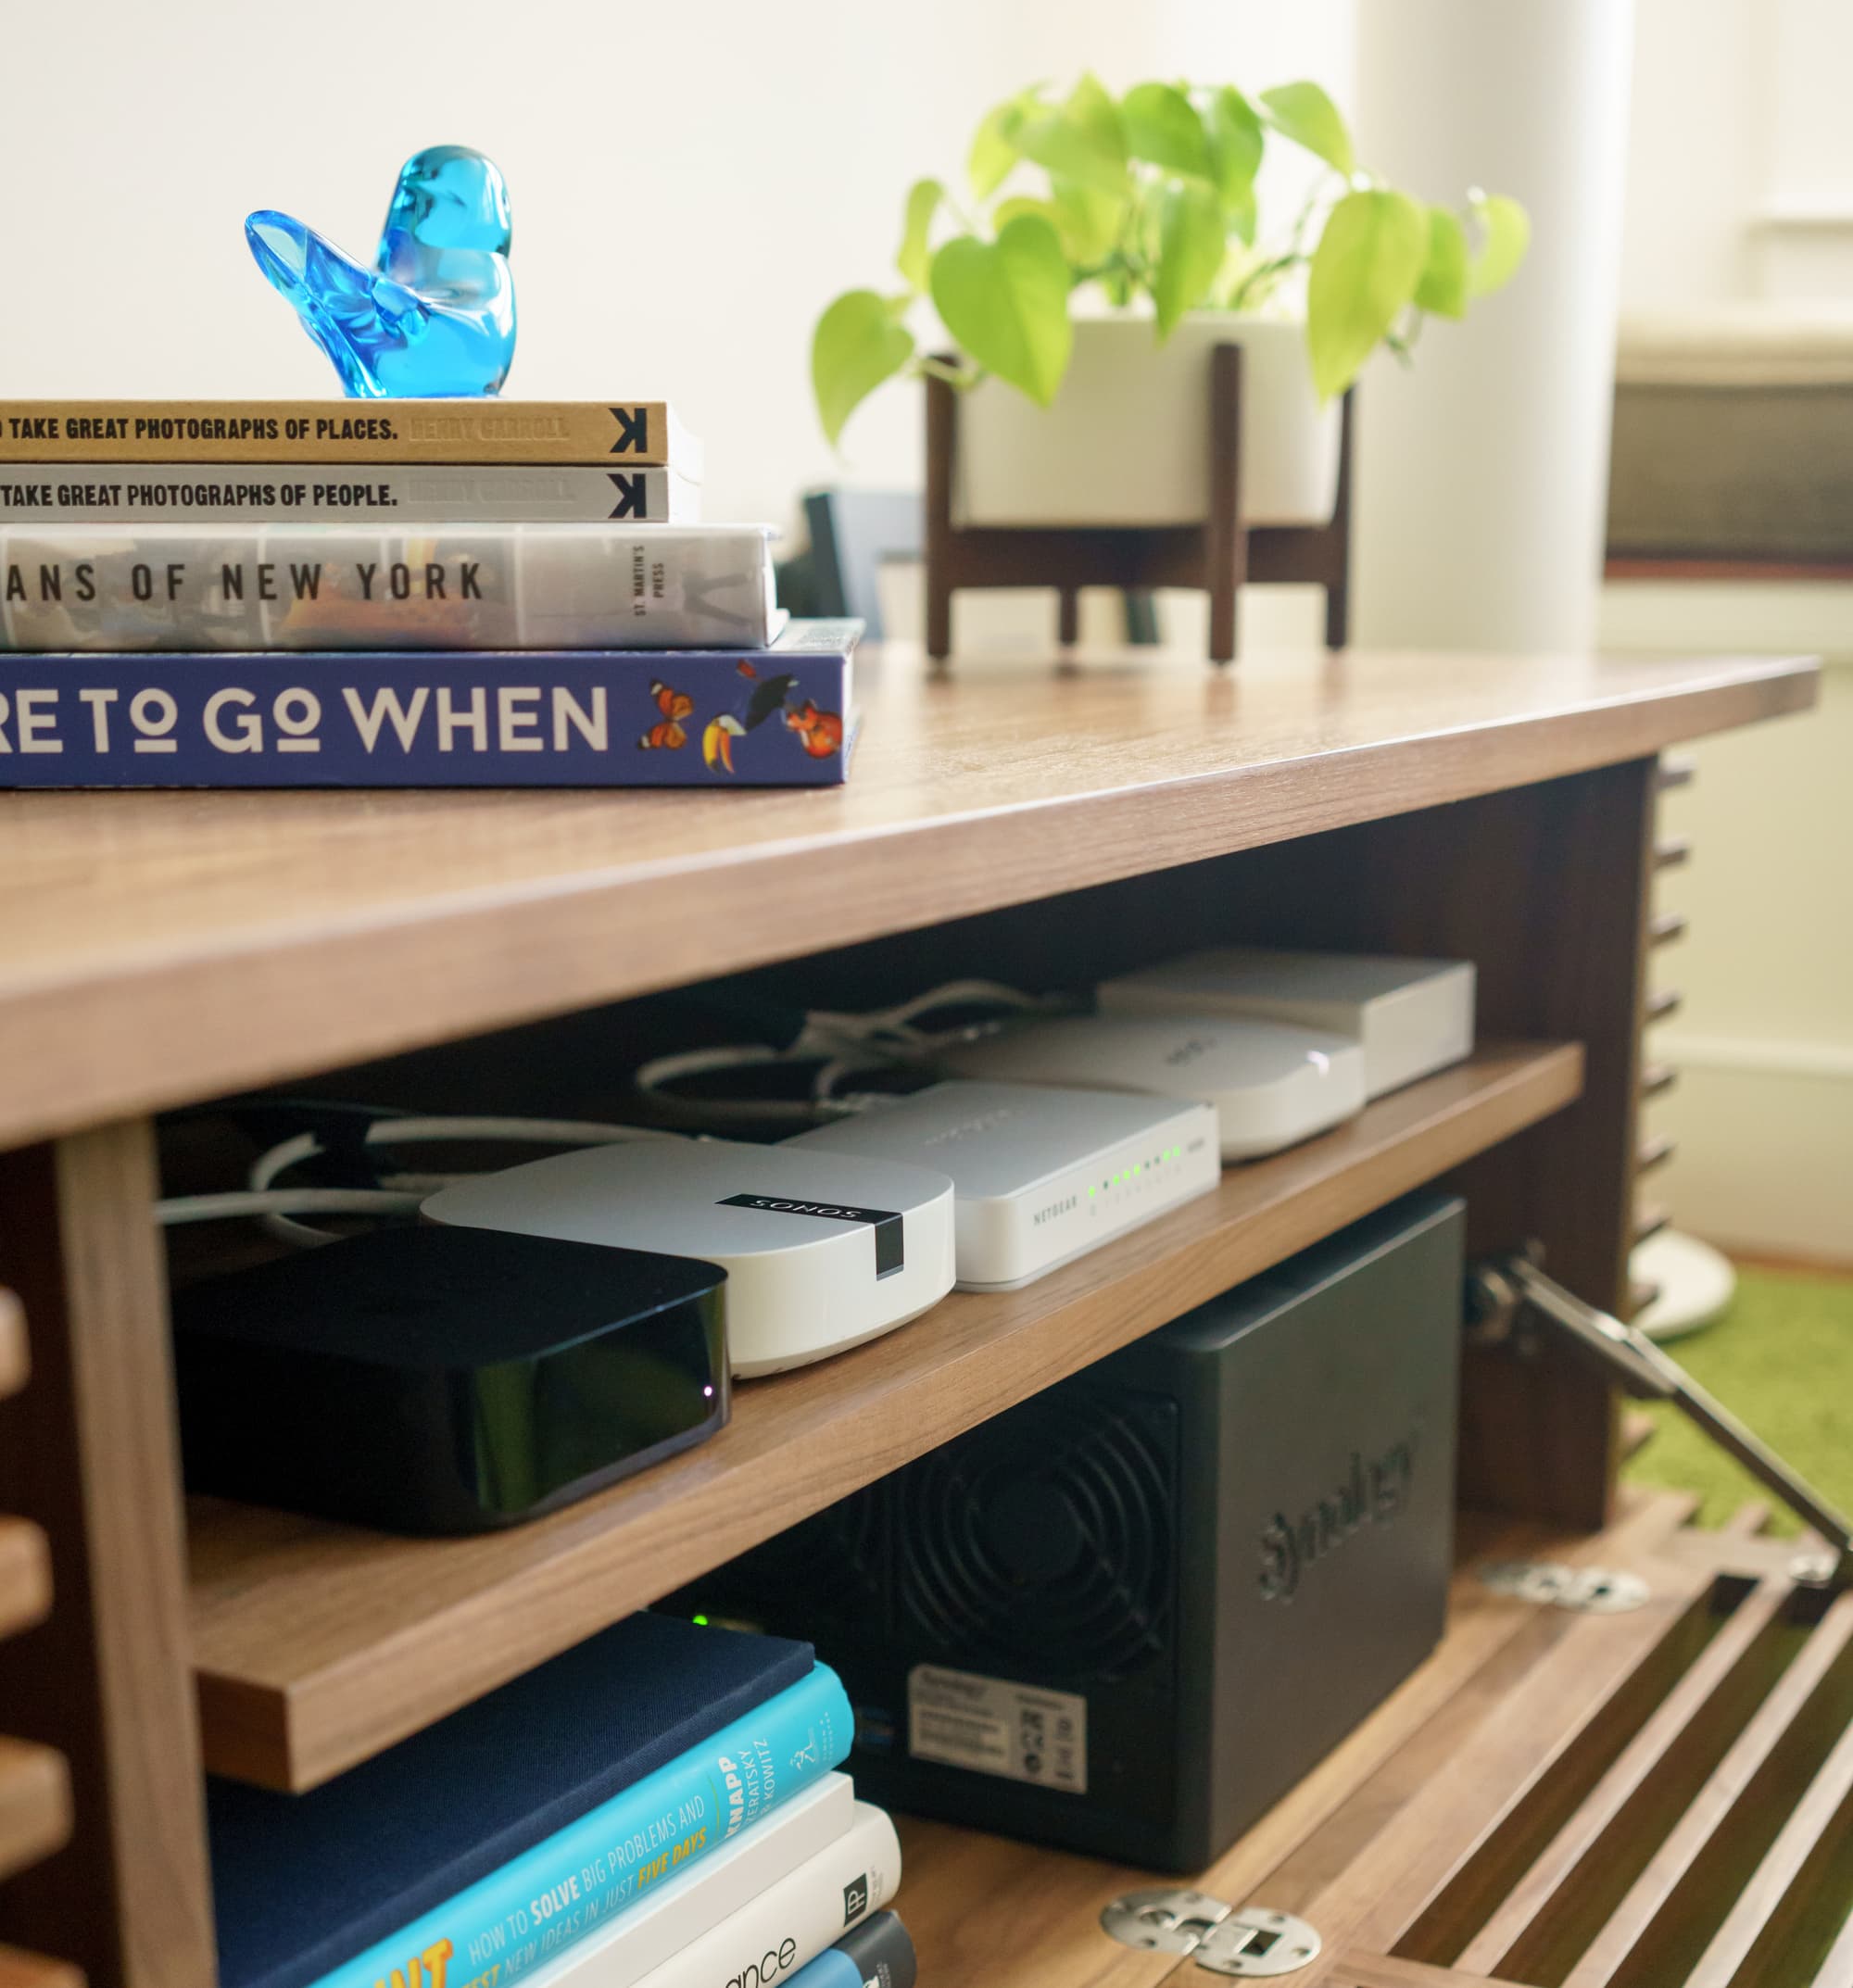
My NAS setup some years back.. it became far messier over the years after I moved to NYC and had less space for networking gear.
Over the years I paid thousands of dollars just to keep those RAW photos safe. At one point I think I had copies on 3 or 4 separate cloud services.. you know, just in case. I later upgraded to another NAS that was physically a bit smaller.
In hindsight, I couldn't care less about 90% of all that data, if not more. The fact that I had terabytes of available storage made it all too easy to not be picky with what I was backing up and just archive everything.
When it was time to move to a different apartment, I took that as the perfect excuse to simplify. I no longer wanted a NAS in my life. A little whirring box, always making random hard drive noises, always taking up space, always making heat. Though I’m sure my perspective would be a bit different if I had enough space to hide the NAS in a perfect server closet completely out of sight and mind.
I needed to get rid of tons of RAW photos for which I no longer cared. I knew I wouldn’t be able to get rid of everything and I still wanted maybe 2 TB of local storage, separate from my computer. My first inclination was to just look for a tiny NAS that I could load up with 2.5” SATA SSDs, or something even better like M.2 NVMe SSDs. I didn’t find anything I liked—most small NAS devices would still require some massive barrel-jack power adapter.
Picking an M.2 SSD enclosure
I ended up deciding to get a small, simple external Thunderbolt SSD enclosure. In particular, I wanted an M.2 NVMe SSD enclosure. M.2 SSDs are much smaller and faster than other modern SSDs using SATA. I wanted an small, bus-powered enclosure that was Thunderbolt 3 or 4, and had some basic heatsink or thermal pad for the SSD.
There were a few options I looked at. The Sabrent Rocket Nano looked perfect at first glance due to its tiny size but they don't sell it as an enclosure, and it's only USB-C, not Thunderbolt, so I ruled that out. Then I looked at a Thunderbolt 3 enclosure from Sabrent. Unfortunately, some reviews pointed out issues with performance and reliability that had me concerned. There was also a new Thunderbolt 4 enclosure from Satechi, but it wasn't shipping (and still seems to be out of stock). That aside, it looked like a great option, but it was far too large for some reason.
After a lot of looking I eventually landed on the OWC Envoy Express. I was hoping for a more aesthetically pleasing option but OWC has been a reputable brand I've been familiar with so it felt like the safe option. I don't like how the Thunderbolt cable is part of the case design (you can detach it but you have to open the case), but it wasn't a dealbreaker for me. At the time I purchased this, it was a bit cheaper at $79.

The Envoy Express enclosure alongside a cheaper USB-C enclosure I got for another spare SSD I had.
The Envoy Express enclosure is all metal and seems very well-made so I'm quite pleased with it.
As for what SSD to use with the enclosure, I decided to use one I already had: an older 2 TB Samsung 970 Evo. At the time I was also parting out and selling my gaming PC (didn't use it enough after I got an Xbox Series X and it was taking up space) and I decided to repurpose the 2 NVMe SSDs I took from it. If you want to do the same, you can find affordable 1 and 2 TB options from Western Digital, Samsung, and SK Hynix among others. It's when you start looking for 4TB SSDs that the prices go up considerably.

My old desktop PC where I salvaged my M.2 SSDs from
Installing the SSD in the OWC enclosure took less than a minute. There's two screws to open the case, then one more screw to fasten the SSD. The case has a built-in thermal pad that touches the top of the SSD, though I wish it had some sort of cooling for the bottom as well.

Breathing new life into my old 970 EVO M.2 SSD by putting it in the OWC Envoy Express enclosure.
Setup and disk encryption
The next thing I did was open up Disk Utility on macOS, format the SSD, then set up encryption. While there's lots of ways to encrypt your data—like VeraCrypt which touts plausible deniability with hidden volumes—I opted for the encryption functionality built into macOS for simplicity.
With the SSD ready to go, the hard part was determining what photos and data I wanted to from my NAS I wanted to keep and transfer to this SSD. This was made particularly hard as my NAS was very slow. I had gigabit ethernet but that doesn’t matter, these spinning disks are barely faster than 100MB/s for sequential read even with a RAID setup. So my long process over a week or so was transferring a folder or two to my laptop overnight, as much as I could with the available space I had on my MacBook Pro's internal SSD.
Once on my laptop I had to go through and decide what to delete and what to keep. There were a lot of easy ways I was able to save space by cutting things like GoPro videos of which I had hundreds of gigs from trips. I didn't care for that footage much and the important clips I had already used in other videos elsewhere.
But there's no getting around it, this was an arduous process. For some older trips I only kept the post-processed original size JPGs and deleted the RAWs. Then there were tons of just random photos I deleted. It took me a few days but eventually I was able to shave a few terabytes; enough to fit the important stuff on this 2 TB SSD. (I had a bit of overflow which I tossed on the other USB-C external enclosure I had which I won't use often so the speed isn't important).
Cloud encryption and backup
With the photos and data trimmed down and ready to transfer to the SSD, I needed to figure out how I wanted to have this SSD backed up and encrypted on cloud services. For that I turned to Arq.
Arq is a backup power tool for advanced users. It's a standalone Mac app that connects to just about any cloud service including AWS, Backblaze, OneDrive, Wasabi, Google Cloud, as well as all S3-compatible storage providers. The best part is that you bring your own credentials for those cloud services, and you have fine-grained control over how things are backed up, stored, encrypted, and much more.

I decided to separate my photos and other more important data into different folders with different backup strategies. Photos took up most of the 2 TB and I wanted them backed up but I didn't expect to access them frequently so I didn't want to use the Amazon "S3 Standard" storage class. I decided to use S3 Glacier Instant Retrieval for my photos.
I'm no stranger to Glacier, Amazon's slower and cheaper data archival storage tier, and have been using some form of it for a decade, but I never had a great experience. It always felt unpredictable and slow; yes, I realize that's the basically the trade-off you sign up for. As of 2021, Amazon added a new type of Glacier storage called Instant Retrieval. So you get the benefit of more affordable data archival storage along with quicker retrieval times.
There's quite a few S3 storage classes to select from: Standard, Standard Infrequent Access, One Zone Infrequent Access, Glacier Instant Retrieval, Glacier Flexible Retrieval, Glacier Deep Archive. It's important to familiarize yourself with the functionality of the S3 storage class you plan on using. And that's just with AWS, you can to use any other cloud provider you like with Arq.
To give you a rough idea of the prices associated with some of these S3 storage classes, here's what it would cost to store 2 TB per month, with no other actions or transfers:
| S3 Storage Class | Monthly price to store 2 TB |
|---|---|
| S3 Standard | $47.10 USD |
| S3 Standard Infrequent Access | $25.60 USD |
| S3 One Zone Infrequent Access | $20.48 USD |
| S3 Glacier Instant Retrieval | $8.19 USD |
| S3 Glacier Flexible Retrieval | $7.41 USD |
| S3 Glacier Deep Archive | $2.05 USD |
And then, for my other data, which was more important and not nearly as sizable, I opted for S3 Standard Infrequent Access. Here's how that looks in Arq:

Arq showing different S3 storage classes for different folders
Arq also lets you specify encryption for your data—separate from the macOS encryption I set up that's required to mount the drive—so I did that as well. It's important to note that you will need the Arq client to be able to access the encrypted files again; they're unreadable if you go directly to the storage bucket on S3.
That's it! I'm very happy with the new setup. I'm relieved to no longer have a NAS taking up space and making noise in my house. The external SSD is tiny and I still have control over where my data is backed up online. I can easily add more cloud storage destinations later on as I see fit.
Cloud control
However, after all this work slimming down my archives, the job is not done. My NAS was just the first target. I still have a stockpile of data and memories across other services like Google. Take Google Photos for example. Absolutely amazing service. I love the heck out of the product. And while Apple's Photos functionality is great, I've always loved all that Google Photos had to offer from amazing search to strong sharing functionality.
I just wish Google Photos wasn't owned by Google. I'm trying to reduce my reliance on consumer-oriented Big Tech products like this in favor of services where I have more control. Google has been heralded for their data portability tool Google Takeout, which includes Google Photos data, but in my experience using it was all but pleasant.
First, I had to wait days to let the archives prepare, which I understand what needs to happen with this much data so that's fine. But then, I had to download more than a dozen separate zipped files amounting to over 800 GB. I don't even think I had that much space on my laptop, let alone extra space to be able to unzip them all. And once unzipped, I don't recall the files having any sort of helpful organization to make it feasible to trim down moments you don't need. I gave up on that.
Cloud storage services make it all too easy to eagerly backup anything and everything without being intentional. Now we've all inadvertently become data hoarders.
Just because we have easy access to near-infinite and increasingly more affordable storage doesn't mean we should be using all that space. The next generation of cloud-based services need to design for curation and control. It doesn't feel like an immediate concern, but it will only continue to increase.
These days getting your Google account hacked isn't just about your email. It may be about your entire digital life. This is more than just decluttering, it's about control, security and privacy too.