The Best Gaming Mouse Pad You'll Ever Make
If you're anything like me, you just spent your last bit of cash on a wicked gaming mouse and didn't leave any money for a mouse pad. Typically you would just game without one, but over time those teflon feet on your mouse will fill with gunk, get scratched up and your mouse won't glide as smoothly as it did in its infancy. Enter the waxpaper mouse pad. For the cost of pretty much nothing, you can have the smoothest gliding mouse/mouse pad combo known to man. Let's begin the fabrication.
Things You'll Need
A desk worthy of this waxpaper mouse padA 12" x 12" square of regular waxpaper (size is your preference, but 12"x12" works well for me)
Cellophane tape
2 minutes
A mouse
Construction
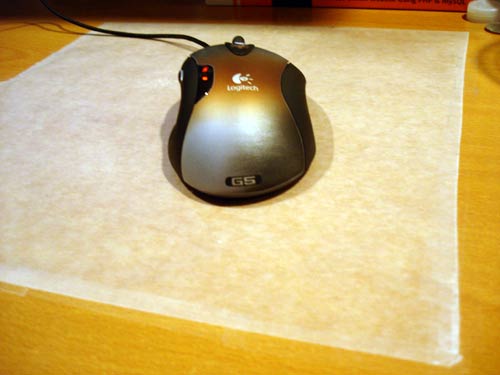
After you have cut the waxpaper to the size you wish to use, lay it flat on your desk where you want to use it. Take a strip of tape and apply it as straight as you can on one of the sides. You will need to tape around the entire piece of waxpaper so that it won't flex during those quick 180 turns to silence the TK'er behind you. The trick is to start with one side completely taped up and use your other hand to constantly tug at the loose end while you tape the remaining sides.
First Use
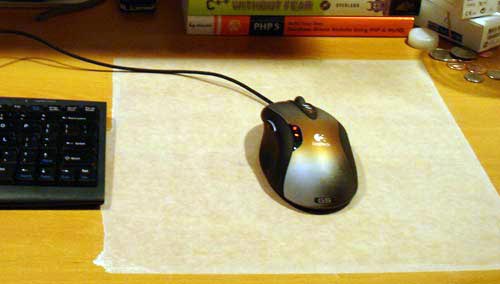
Before laying your mouse on the waxpaper mouse pad, flip the mouse over and make sure those teflon pads are gunk-free and smooth. If you skip this step you risk scratching or even tearing the waxpaper. Now load up your favorite game and test our your creation. You will have to replace the waxpaper every so often as it is only waxpaper. If you want to make something that lasts a bit longer, you can try this with transparencies used for overhead projectors. They would be a good investment given their pseudo-rugged build and lifetime in this particular application.