How To: Lower Your iMac
Note: You are about to read a "ghetto mod". Ghetto mods do not come with any guarantee other than some amusement.
The VESA adapter I ordered for my iMac arrived today however the VESA arm had not and probably won't for a while. What's a techie to do? Here's what I did. I installed the VESA adapter like normal and then I zip-tied the standard base back on. Now, I know what you're thinking... "this would have made for a PERFECT use of duct tape." While this many be true for everything, the strong gray color of the tape would have clashed with the tender white plastic of the iMac. I opted for white zip-ties to complement the iMac's visage.
With a total cost of ~35 including the VESA adapter and industrial strength zip-ties, this turned out pretty well. The only downside is that it takes up more space behind the iMac, forcing it closer to you.
The 5 Step Plan
Step 1) - Take off the base and install the VESA adapter from Apple.Step 2) - Flip the base around and align the cable hole with the bottom of the VESA adapter. Start applying zip-ties from this hole and extend towards the top of the VESA adapter. The more zip-ties the better.
Step 3) - Tighten your zip-ties with pliers. I like to grab hold of the zip-tie end near the zip-tie base with pliers and rotate it until I hear a pleasant number of clicks.
Step 4) - Flip the iMac over, place it upright and perform a variety of stress tests to ensure it doesn't fall over.
Step 5) - Adjust the angle of the screen with books.

By utilizing an Apple-supplied card, I was able to engage a latch to reveal the eight torx screws holding the base on.

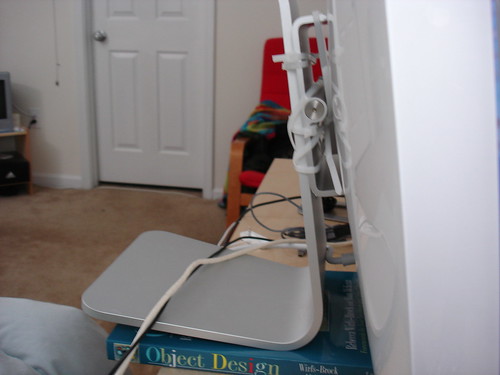
You'll want to adjust your iMac's angle with a computer science book of your choice. Bonus points if it's object-oriented.
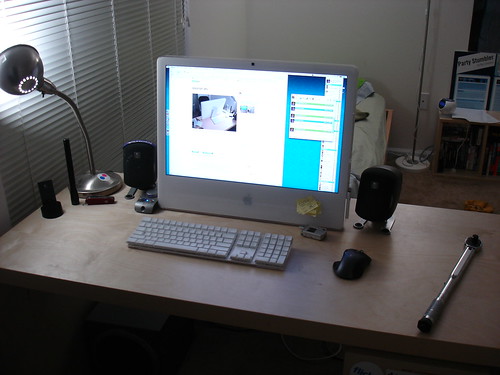
The iMac now at a much more comfortable level and angled slightly to allow air to flow through the bottom vents.
One side effect of this modification is that your friends and roommates will use it as an example to show how their cheaper monitors already have the ability to adjust height. You can fend them off with your trusty torque ratchet, pictured on the desk. (I actually had the ratchet there to persuade an unrelated bolt in my desk to go back to its proper place.)